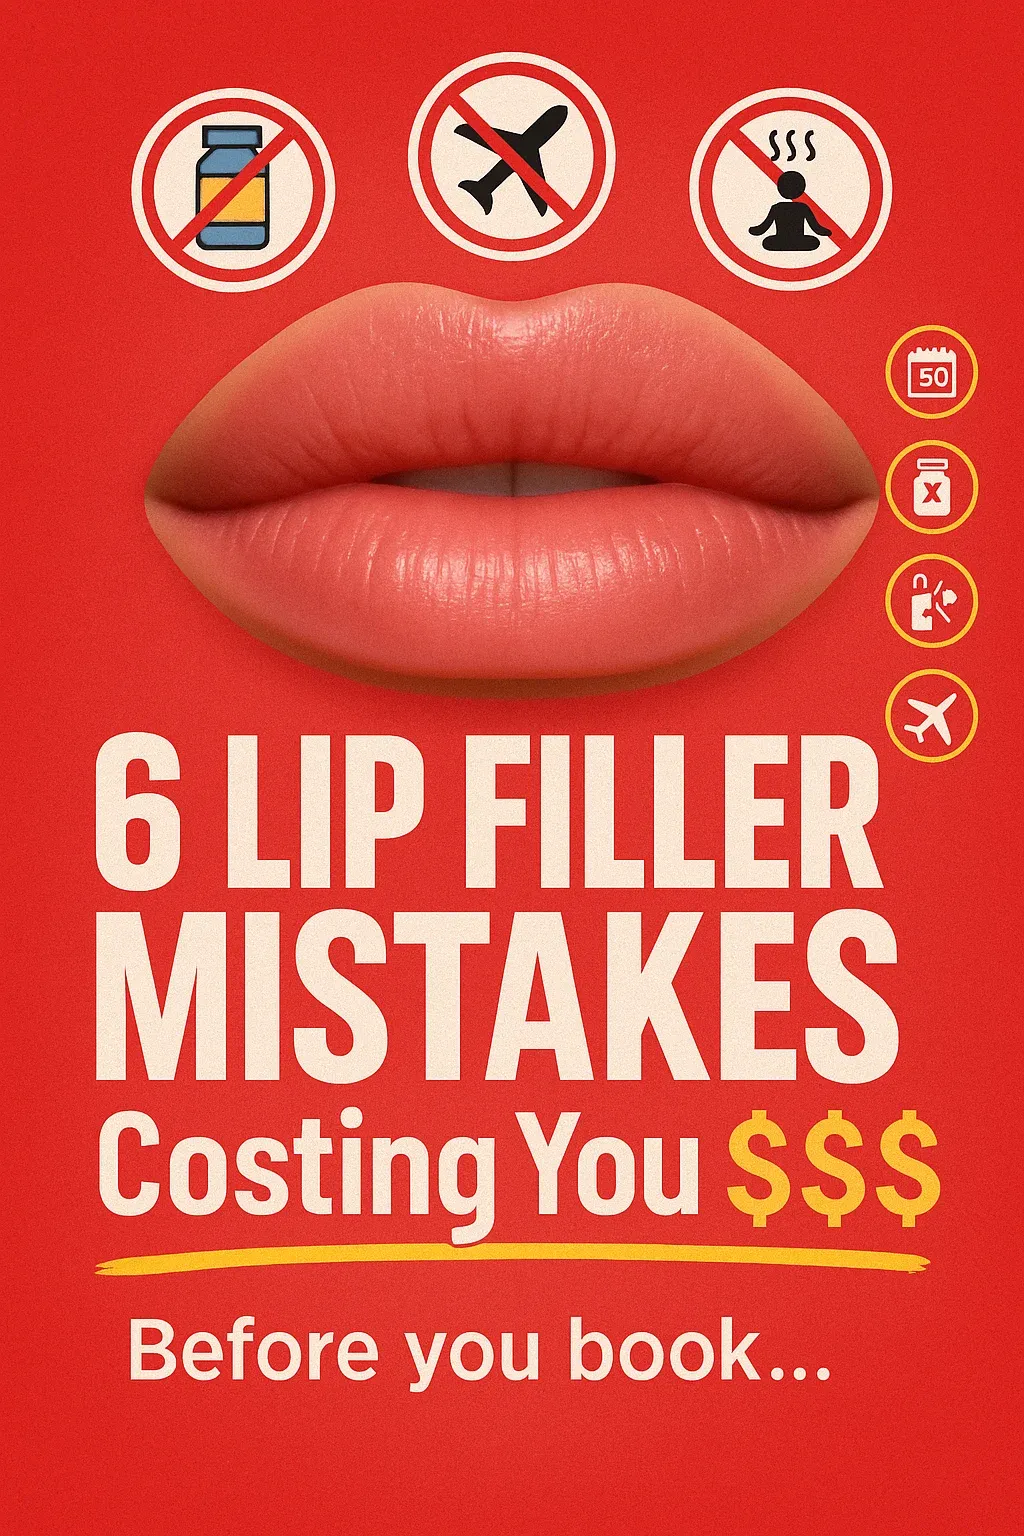
The 6 Lip Filler Aftercare Rules Nobody Told You About (And They'll Cost You Your Results)
Discover 6 critical lip filler aftercare rules most clinics don't tell you. Protect your investment and get perfect results in 30 days or less.

Look. You just dropped $600 to $900 on lip fillers. Maybe more.
You sat in that chair. You felt the needle. You walked out thinking you're done.
Lip Filler Aftercare — Rules Nobody Told You About (Quick Summary)
TL;DR
Swelling & bumps are common; painful blanching is not
- Ice smart: 10–15 min on/off with clean cloth; no direct ice burn.
- Hands off: Don’t massage unless your injector told you to.
- Elevation: Sleep on back, head raised 1–2 pillows night 1–2.
- Heat & workout: Avoid saunas, hot yoga, intense exercise 24–48h.
- Alcohol & salt: Skip both 24–48h; they worsen swelling.
- Makeup & actives: No lipstick for 24h; avoid acids/retinoids 3–5 days around lips.
- Hygiene: New/clean mask, fresh pillowcase, avoid touching.
- Cold sores: If history of HSV‑1, ask about prophylaxis before treatment; watch for tingling.
- Nodules vs. edema: small peas often swelling; firm tender lumps persisting → ask clinic.
- Timeline: Most swelling 24–72h; settle 2–4 weeks for final shape.
Educational, not medical advice. Follow your injector’s instructions first.
You're not.
What you do in the next 4 weeks will either make your investment look incredible or turn it into a disaster that screams "I got work done" from across the room.
Here's what drives me crazy. Most clinics hand you a one-page aftercare sheet that's about as useful as a chocolate teapot. They tell you the basics, but they skip the stuff that actually matters. The details that separate "wow, you look amazing" from "did something happen to your face?"
I'm about to give you 6 aftercare rules that most people never hear about until it's too late. And these aren't the standard "don't exercise for 24 hours" tips. These are the hidden landmines that can blow up your results if you're not careful.
Let's get into it.
👉 My List of Lip Fillers on Amazon.com
Affiliate Disclaimer: This post may contain affiliate links, which means I may receive a small commission if you make a purchase through my links, at no extra cost to you. I only recommend products I genuinely believe in and would use myself. Your support helps keep this blog running and allows me to continue creating free content to help you achieve your best skin. Thank you for supporting SkinOptimizer!
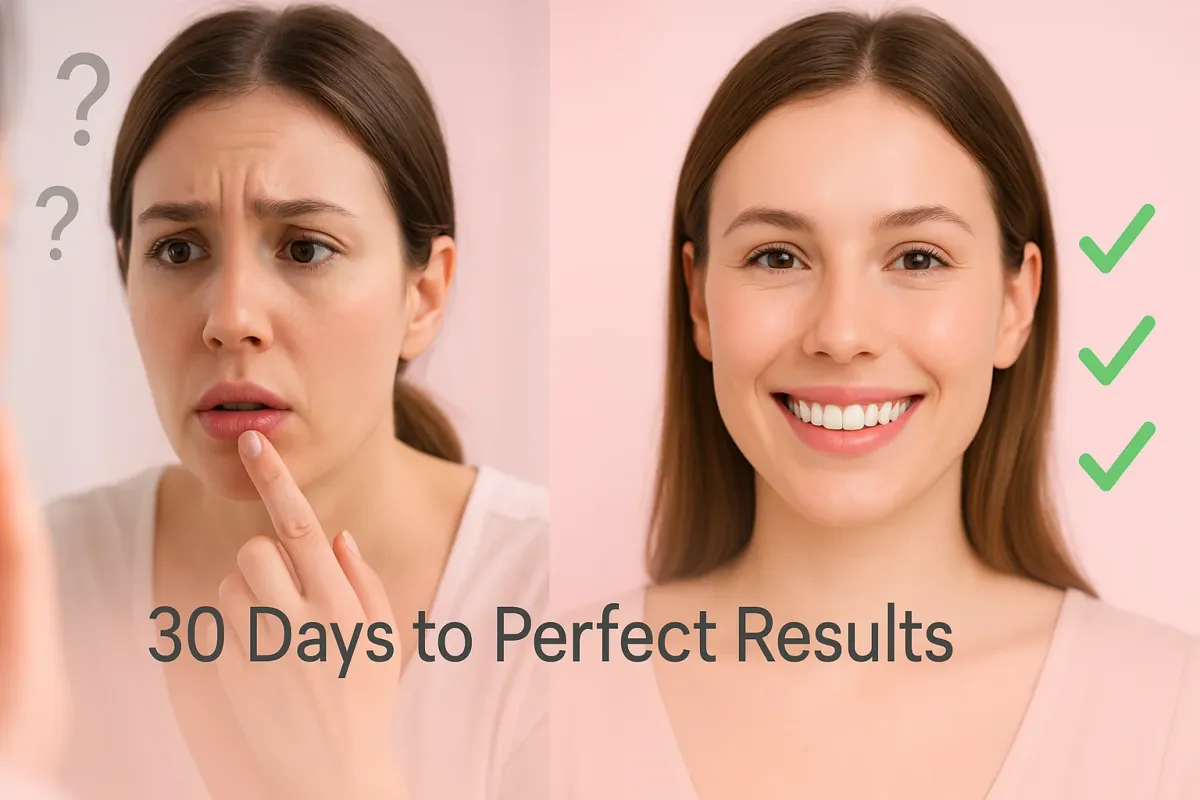
Rule #1: Your Lips Won't Look Right for 30 Days (And That's Normal)
Here's the truth bomb nobody wants to tell you.
That mirror check you're doing 3 days after your appointment? Worthless. The swelling you see? Not your final look. Those weird lumps? They might disappear on their own.
Your final result takes a full month to show up.
Not a few days. Not a week. Four full weeks.

Why? Because hyaluronic acid doesn't just sit there like a water balloon under your skin. It needs time to integrate with your natural tissue. It has to bond with your body's own moisture. According to medical experts at Healthline, it usually takes two to four weeks for swelling to fully resolve and the filler to integrate into your lip tissue.
This is the integration period. It's when the filler settles and creates that smooth, natural look you actually paid for.
Here's what this means for you:
- Don't panic on day 3 when your lips look uneven
- Don't book a "fix it" appointment on day 5
- Don't post your "before and after" on Instagram until week 4
- Don't judge your injector until the month is up
I see people freaking out after 48 hours all the time. They're messaging their injector, demanding touch-ups, thinking something went wrong. Most of the time? Nothing's wrong. You just need to let science do its thing.
Want to understand how other skincare ingredients work with your skin? Check out our guide on hyaluronic acid for hydration to learn more about this powerhouse ingredient.
Rule #2: Your Pain Relief Could Be Destroying Your Results
Let me paint you a picture.
You wake up the day after your lip fillers. Your lips are a bit sore, maybe swollen. You reach into your medicine cabinet and grab whatever painkiller is sitting there.
Stop right there.
That bottle of Advil? That's not helping you. It's actively working against you.
Here's the deal. Common over-the-counter pain relievers fall into two categories:
The Good: Tylenol (acetaminophen)
The Bad: Aspirin, Ibuprofen (Advil, Motrin), Naproxen (Aleve)
Why? Blood thinning.
Those NSAIDs (non-steroidal anti-inflammatory drugs) mess with your blood's ability to clot. Medical professionals recommend avoiding blood-thinning medications like Ibuprofen and aspirin, as these can increase bruising and swelling. More bleeding means more bruising. More bruising means more swelling. More swelling means you look worse for longer.
This is counter-intuitive because these are the exact medications people grab when they want to reduce swelling. But in this case, they make everything worse.
What To Take Instead:
- Tylenol - Safe and effective for pain
- Arnica cream - Apply topically to reduce bruising
- Arnica supplements - Take orally (ask your provider first)
- Ice packs - 10-15 minutes at a time, several times daily
If you're dealing with sensitive skin and want to know more about gentle skincare options, read our article on moisturizers for sensitive skin.
Rule #3: Your Lip Balm Is Probably Sabotaging You
This one blindsides everyone.
You're told to keep your lips moisturized. So you grab your favorite lip balm. The one that makes your lips tingle and feel plump. The one with that refreshing menthol feeling.
That tingling? That's irritation.
Many popular lip balms and plumping glosses contain what I call "intentional irritants." They're designed to cause temporary swelling so your lips look fuller. Great for a night out. Terrible after you've just had injections.
Ingredients to Avoid Like the Plague:
- Cinnamon oil
- Peppermint oil
- Menthol
- Camphor
- Anything that causes a "plumping" or "tingling" sensation
Your lips are already swollen. Your skin barrier is compromised. The last thing you need is more irritation disrupting the healing process.
Dermatologists at Laser & Skin Surgery Center of New York emphasize that proper lip care after fillers is essential for optimal healing and results.
What To Use Instead:
- Vaseline (Petrolatum) - Pure, simple, effective
- Shea butter - Natural and soothing
- Glycerin-based balms - Hydrating without irritation
- Arnica cream - Specifically targets bruising
Check the ingredients list. If you can't pronounce half the ingredients, or if it promises to "plump" your lips, put it down.
For more insights on protecting your skin barrier, explore our comprehensive guide on best ingredients for skin barrier repair.
Rule #4: The "No Touch" Rule Has a Critical Exception
Standard advice after lip fillers: Don't touch them.
For the first 6 hours, this is gospel truth. Keep your hands off. No rubbing, no massaging, no poking. You need to let the filler start settling without interference.
But here's where it gets interesting.
After 5 to 7 days, if you notice persistent lumps or bumps that aren't going away, there's a specific massage technique you should be doing.
The Correct Massage Technique:
- Wait 5-7 days after initial swelling subsides
- Insert your thumb inside your mouth
- Use your index finger on the outside
- Gentle circular motion - Knead the bump between thumb and finger
- 2-3 minutes at a time
- Repeat several times daily
Why the thumb inside? It creates a boundary at your vermillion border (that's the line where your lip meets your face). This prevents the filler from migrating past where it's supposed to be.
This is empowering. You're not helpless if you get lumps. You have a tool to fix them. But you need to know the right technique and the right timing.
Critical point: If lumps persist beyond 2 weeks, call your injector. Lumps from hyaluronic acid fillers can be dissolved with hyaluronidase if needed.
Rule #5: Flying Too Soon Will Wreck Your Recovery
This one catches people off guard every single time.
Maybe you're traveling for your procedure. Maybe you have a vacation planned right after. Maybe you fly for work.
Don't get on a plane for at least 7 days after your lip fillers.
"Why?" you ask. "What's the big deal?"
Cabin pressure.
When you're cruising at 35,000 feet, the air pressure in the cabin changes. That pressure change can dramatically worsen swelling and bruising in your lips. What should have been minor swelling turns into "did you get punched in the mouth?" swelling.
The Flying Problem:
| Normal Recovery | Flying Too Soon |
|---|---|
| Mild swelling for 2-3 days | Severe swelling for 5-7 days |
| Minor bruising that fades quickly | Pronounced bruising that lingers |
| Comfortable healing process | Painful, uncomfortable recovery |
| Results look good by day 7 | Results still questionable at day 14 |
This is especially brutal if you're traveling FOR the procedure. I see this all the time. Someone flies to a big city, gets their lips done, and flies home the next day. Then they email their injector freaking out about how bad they look.
Pro tip: If you absolutely must travel, schedule your procedure so you have at least a week before any flights. And if you can swing it, wait two weeks to be safe.
Traveling for cosmetic procedures? Make sure you're also protecting your skin with proper daily routine for combination skin tips.
Rule #6: Heat Is Your Enemy (And It's Everywhere)
Everyone knows to avoid strenuous exercise for 24-48 hours after lip fillers. Elevated heart rate equals increased blood pressure equals more swelling and bruising.
But here's what they don't tell you: The problem isn't just the exercise. It's the heat.
Any form of significant heat exposure for 48 hours after your procedure will intensify and prolong swelling. And heat is everywhere.
What You Need to Avoid:
Obvious heat sources:
- Sauna sessions
- Steam rooms
- Hot yoga classes
- Intense cardio workouts
Less obvious heat sources:
- Hot showers (keep it lukewarm)
- Hair dryers on high heat near your face
- Cooking over a hot stove
- Sitting too close to a fireplace
- Even hot beverages that steam your face
The heat causes vasodilation. Your blood vessels expand. More blood flow to the area means more swelling. It's basic biology, but nobody talks about it.
Temperature Management Tips:
- Ice packs - Your best friend for the first 48 hours
- Cool compresses - Use throughout the day
- Room temperature water - When you need to hydrate
- Cool sleeping environment - Keep your bedroom on the cooler side
- Elevated sleeping position - Use an extra pillow to reduce facial swelling
Think of it this way: For 2 days, you're trying to keep inflammation DOWN. Heat brings inflammation UP. Cold brings inflammation DOWN. It's not complicated, but it's critical.
If you're dealing with inflammation in other areas, our guide on skincare routine for redness and rosacea has helpful anti-inflammatory strategies.
The Bottom Line: Details Determine Your Results
Here's what most people don't understand about cosmetic procedures.
The injector's skill gets you 60% of the way there. Maybe 70% if they're really good.
You're responsible for the other 30-40%.
That's not a small number. That's the difference between "she looks great" and "she definitely got something done."
Quick Reference Checklist:
✓ Wait 4 weeks before judging your final results
✓ Take Tylenol only - avoid NSAIDs completely
✓ Use simple moisturizers - Vaseline, shea butter, glycerin
✓ No touching for 6 hours - gentle massage only after day 5-7 if needed
✓ No flying for 7 days minimum
✓ Avoid all heat sources for 48 hours
Additional recovery tips:
- Stay hydrated (water helps the hyaluronic acid work better)
- Sleep elevated (extra pillow reduces swelling)
- Avoid alcohol for 48 hours (it thins your blood)
- No dental work for 2 weeks before or after
- Don't apply makeup for 24 hours
The partnership between you and your injector doesn't end when you leave the clinic. Cleveland Clinic experts note that it usually takes two to four weeks for swelling to fully resolve and filler to integrate into lip tissue. Your aftercare is just as important as the procedure itself.
Final Thoughts: Invest in the Whole Process
You paid good money for your lips. Probably more than you wanted to spend. Maybe you saved up for months.
Don't blow it by ignoring aftercare.
These six rules aren't suggestions. They're not optional. They're the difference between loving your results and regretting your decision.
The choice is yours:
Door #1: Follow these rules religiously. Wait the full month. Avoid the pitfalls. End up with natural-looking, beautiful lips that were worth every penny.
Door #2: Wing it. Touch them too much. Fly too soon. Use the wrong products. End up with lumpy, uneven results and regret.
Which door are you choosing?
Because here's the thing about cosmetic procedures - you can't undo time. You can't get back those first 48 hours. You can't restart the healing process.
You get one shot at optimal aftercare. Make it count.
Now that you know these hidden rules, you're ahead of 90% of people who get lip fillers. You know what to expect. You know what to avoid. You know how to protect your investment.
For more insights on optimizing your skincare routine and maintaining healthy, glowing skin, check out our articles on the ultimate morning skincare routine and best anti-aging ingredients.
Your turn: Are you ready to commit to the full journey? Or are you going to be one of those people who calls their injector on day 3 panicking about something that's completely normal?
The beautiful result you want is sitting on the other side of 30 days of disciplined aftercare. Don't shortcut the process. Your face is worth the patience.
FAQ — Lip filler aftercare
Clear rules. Faster healing. Better results.
Swelling peaks in 24–48 hours. Most visible swelling fades by days 5–7. Minor puffiness can linger up to 2 weeks. Final look settles in 2–4 weeks. If pain is severe or skin turns pale/blue, contact your provider.
Skip kissing for 24–48 hours to avoid pressure, bacteria, and filler shift. After that window, go by comfort and keep it gentle. Clean lips first. Your provider’s instructions override any generic advice.
Avoid straws for 24–48 hours. The puckering and suction can add pressure and discomfort. After 2 days, use a straw if it feels fine. Focus on hydration either way.
Best practice: wait 24 hours before lipstick to let injection points seal. Some clinics allow makeup sooner, but a 1‑day pause lowers irritation risk. Start with a clean, hydrating balm. Skip tingling or plumping formulas for a week.
Hold vigorous workouts for 24–48 hours. Heat and high heart rate can worsen swelling and bruising. Light walking is fine. Resume intense training once swelling settles and you feel normal.
Have questions about your lip filler aftercare? Always follow your injector's specific instructions first - they know your individual situation best. These rules are guidelines based on medical best practices, but your provider's advice should always take priority.
Resources: